The Retina Image extension allows you to add a retina version of the image for high definition screens, removing any need for using other retina plugins or tools.
In this article, we will see how Retina Image extension works.
Key features –
- Upload the Retina Image for High Definition screens
- Provide SVG support for Image or Logo

Let’s see how to use Retina Image extension in Divi Builder –
Note: Before starting make sure you have Divi Builder and Bluechip Addons for Divi Builder plugins activated.
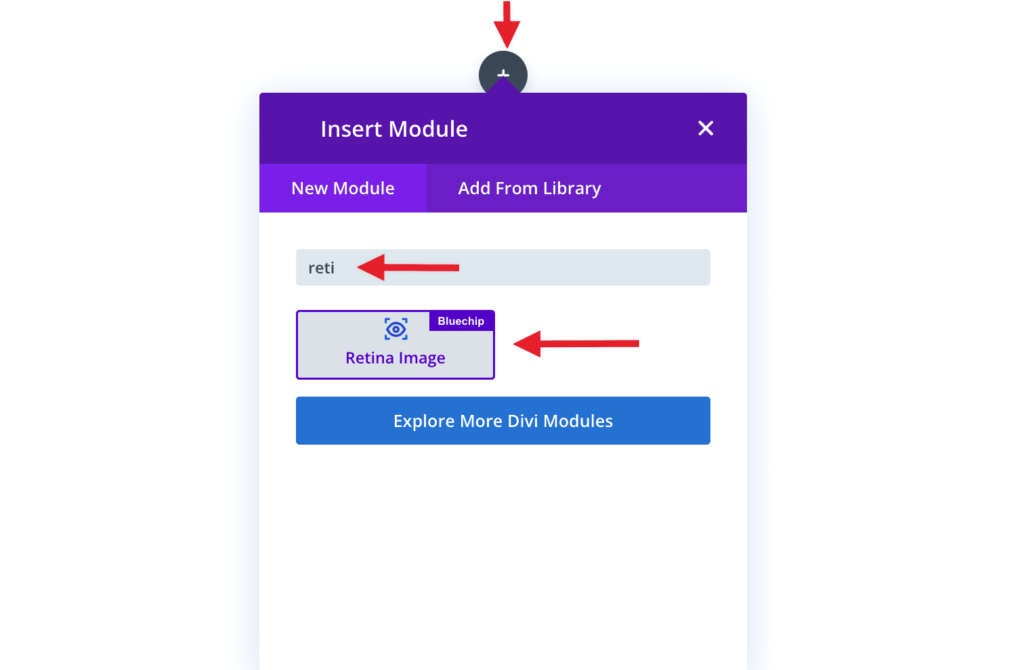
Step 1 – Edit page/post with Divi Builder and opt to add new extension. Search and choose Retina Image from list.
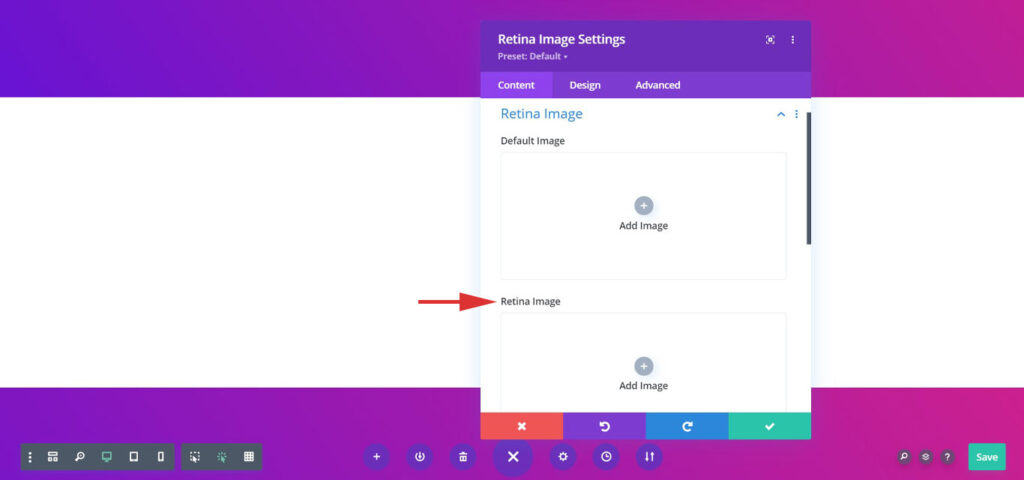
Step 2 – Upload a relevant Retina Image, and make some settings accordingly. And you are Retina Image extension is set for high definition screens.
Step 3 – Once you are done adding the Retina Image you can configure with advanced features, colors and typography.
Configure Retina Image With Advanced Features
Custom Image Size – Select Custom Image size as per your requirement
Image Alignment as Needed – Adjust image position as per the design requirement
Attractive Backgrounds – Set color, gradient, or image as a background
Custom Link for the Image – Link your image to desired targets with a custom URL
Engaging Hover Animations – Choose hover animations to attract users