Customize and replace your WordPress login forms and make them look beautiful. Further improve user onboarding experience with social login support and many more advanced features.
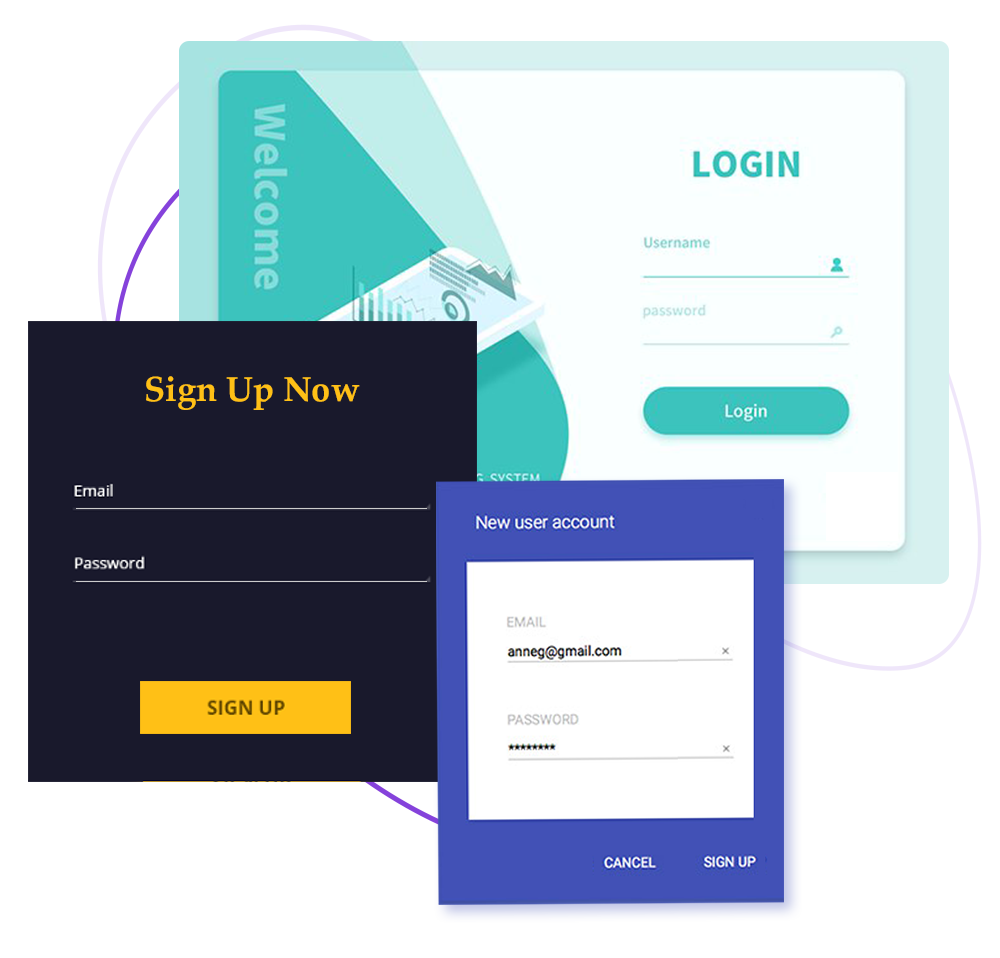
Here’s a screenshot of Login Form –
Adding Login Form Extension
Let’s see how to use Login Form extension in Divi Builder –
Note: Before starting make sure you have Divi Builder and Bluechip Addons for Divi Builder plugins activated.
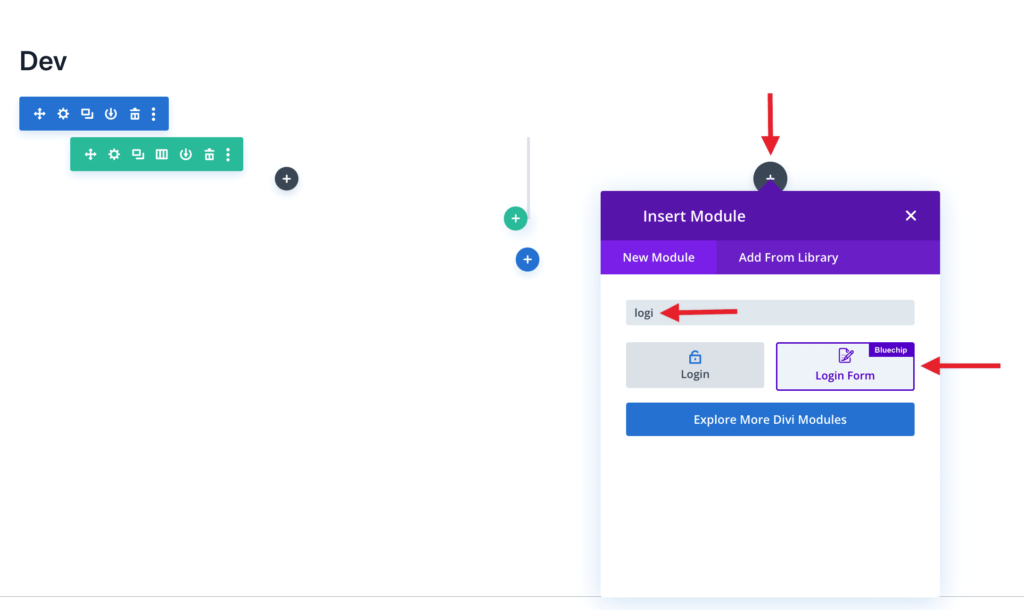
Step 1 – Edit page/post with Divi Builder and opt to add new extension. Search and choose Login Form from list.
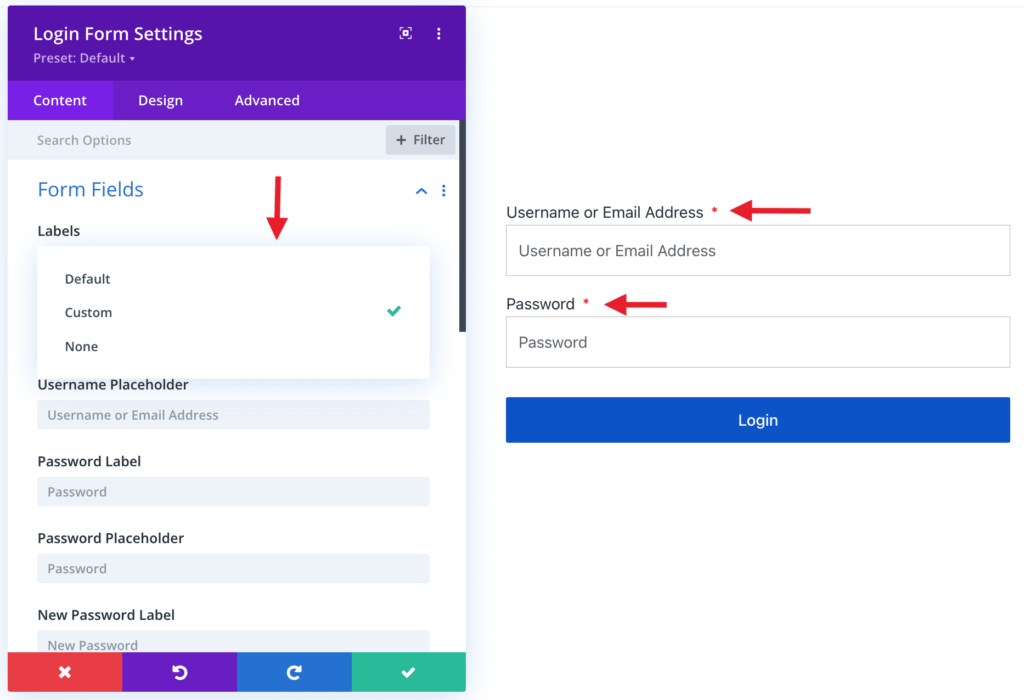
Step 2 – Choose from the relevant Input Field label options like Default, Custom, or None.
Step 3 – Once you are done adding all the content you can select options from the Default Login Form like Remember Me and others. Or advanced features, colors and typography.
Configure Login Form With Advanced Features
The various Advanced settings and Features that allow you to manage the Theme, Position, Alignment of the extension, Color and Size of the Text, and more styling options for all the elements.
Let us take a look at each settings section of the Login Form extension in brief –
Below are the few key features we have taken care of –
Social Login and Register
Sometimes, you might provide both the login form as well as the Social Login for your users to login. So there you might need a separator asking them to either login using the Login Form or Social Login.
Currently this social login feature is under development. This will be live soon.
Custom Redirects
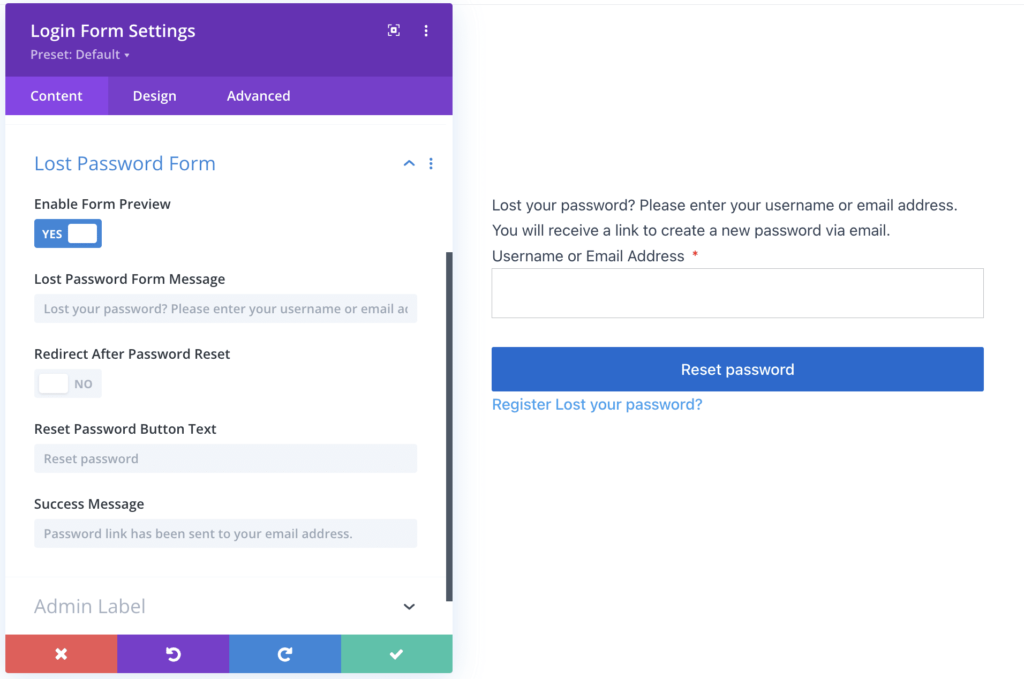
Under the Additional Options section of the Content Tab, you will see the option to Redirect the User after Login or Logout to custom URL on your own website.
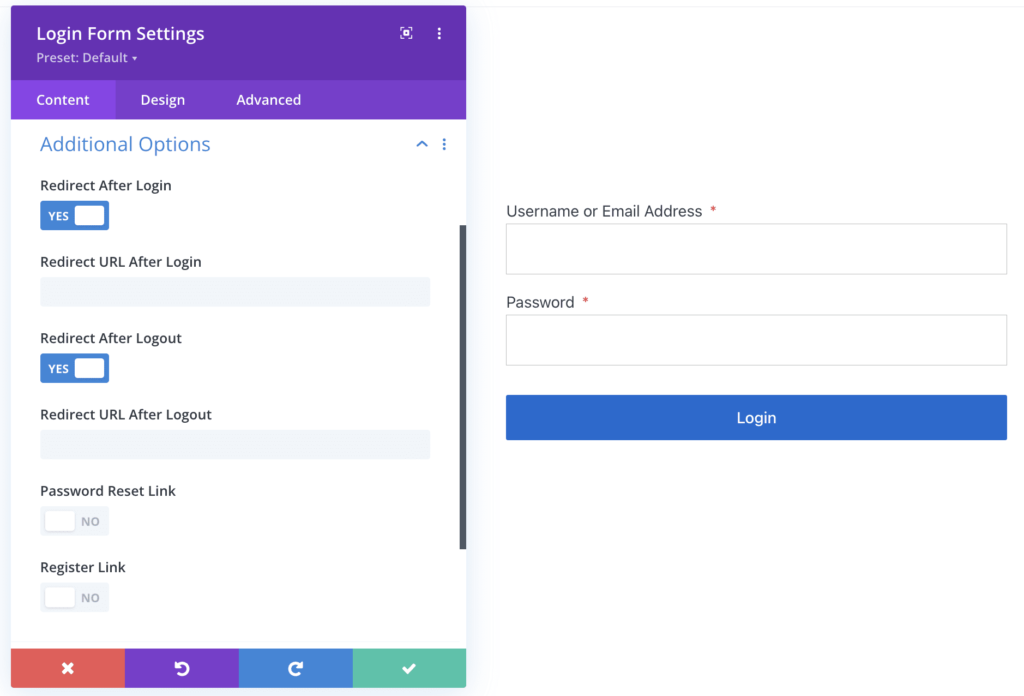
And also, have the option to manage other settings like display Register and Lost Your Password form.