The Info Box extension truly is a multi-purpose extension. It allows creating a section with an Icon, Separator, Heading, Description, and even a Call to Action.
It can help you create some quick sections with just a drop of this extension.
Here’s a screenshot of Info Box –

Adding Info Box Extension
Let’s see how to use Info Box extension in Divi Builder –
Note: Before starting make sure you have Divi Builder and Bluechip Addons for Divi Builder plugins activated.
Step 1 – Edit page/post with Divi Builder and opt to add new extension. Search and choose Info Box from list.
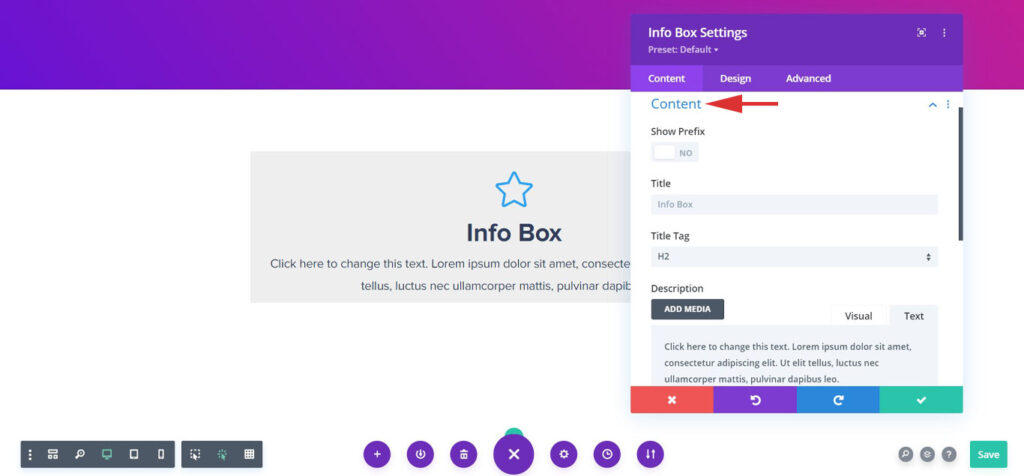
Step 2 – Add a relevant title, logo and some description and choose heading tags.
Step 3 – Once you are done adding all the content you can configure with advanced features, colors and typography.
Configure Info Box With Advanced Features
The various Advanced settings and Features that allow you to manage the Background of the extension, Color and Size of the Image/Icon, and more styling options for all the elements.
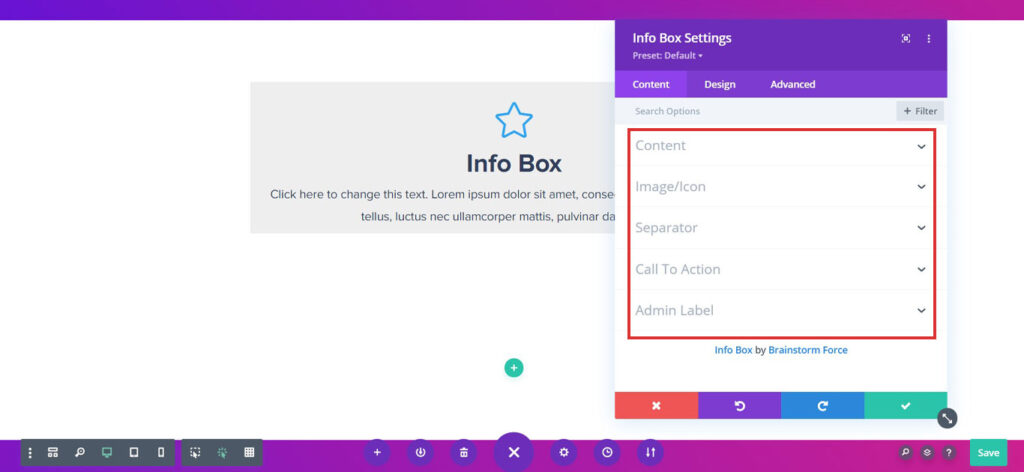
Let us take a look at each settings section of the Info Box extension in brief –
Below are the few key features we have taken care of –
Packed with Handy Options
You will find multiple options from Prefix to Icon/Image, Heading, Description and even CTA in a single extension. Creating an quick sections has become even simpler.
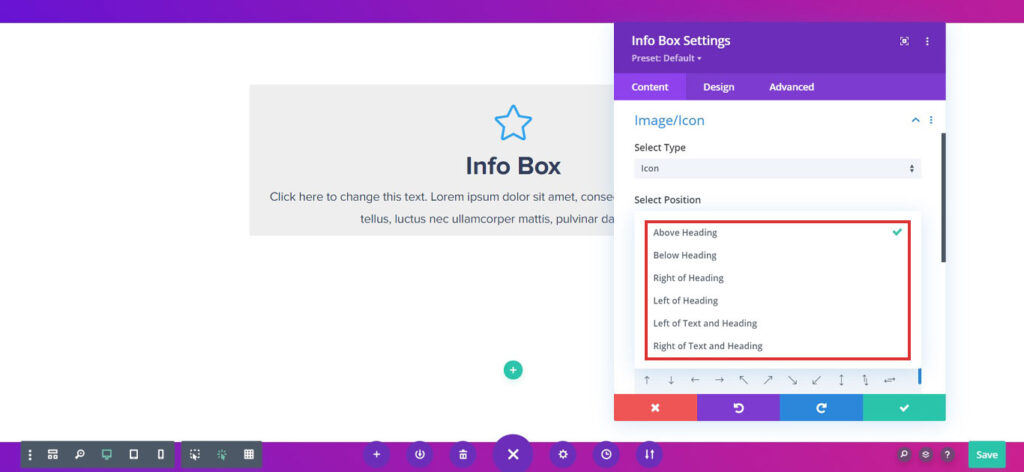
Add Stylized Icon/Image
As rightly said by someone, an Image says a thousand words. Add your desired Image / Icon from the existing Icon set. Also, choose from the desired position options as listed below –
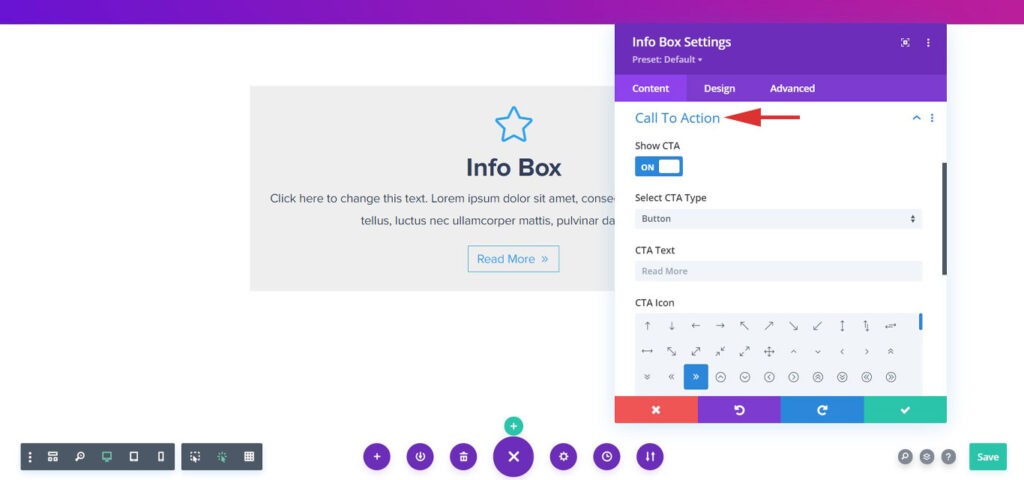
Take Action into Your Hands with CTA
An CTA with the right text packs the right punch and drive users as you want. You can even convert the CTA button into a Text, Button ( Default ), and Complete Box.